How to Host a Public Webinar with Registration: A Step-by-Step Guide
A step-by-step guide to hosting a public webinar with registration: plan it, brand it, collect sign-ups, send reminders and follow up, with Daakiaa Meet.
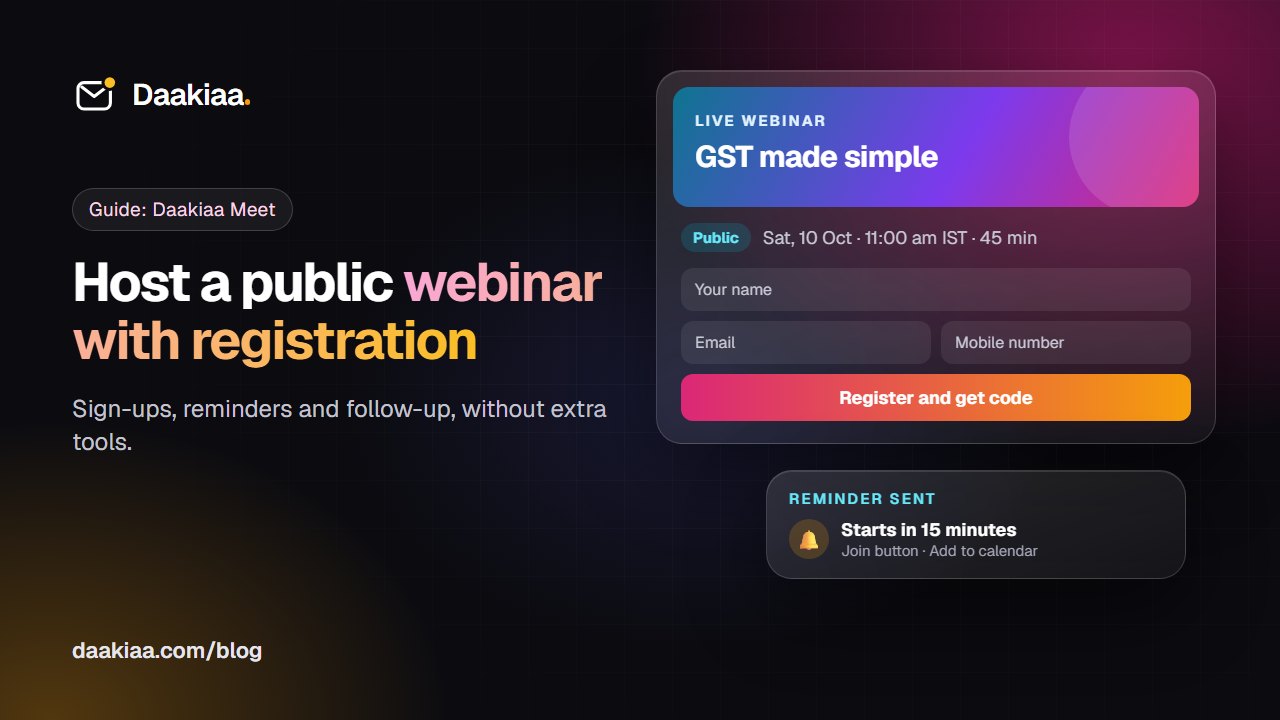
A webinar is one of the simplest ways for a small business to reach new people: a product demo for prospects, a free class for students, a training session for dealers, or an open Q&A for customers. The hard part is rarely the talk itself. It is everything around it: a page where people can sign up, knowing who is coming, getting them to actually turn up, and following up afterwards.
This guide walks through hosting a public webinar with registration from start to finish. The steps apply whatever tool you use, and at each step we show how it works in Daakiaa Meet, the video meetings included with every Daakiaa business email account.
Why registration matters for a public webinar
You could simply post a meeting link on social media and hope for the best. Registration is worth the small extra step for three reasons:
- You know who your audience is. A name, email address and phone number turn an anonymous crowd into people you can follow up with.
- You can remind them. Many people who sign up for a webinar forget about it by the day. A reminder the day before and a few minutes before the start makes a real difference to how many join.
- You keep out noise. When people have to confirm a real email address to join, random visitors and bots are far less likely to drop in.
Step 1: Decide the basics
Before you create anything, write down four things:
- The promise. One sentence on what people will learn or get. “How to file GST returns without a CA, in 40 minutes” works better than “GST webinar”.
- Date, time and length. For an Indian audience, weekday evenings (6 to 8 pm) and Saturday mornings tend to suit working people; weekday afternoons suit businesses. Keep it shorter than you think: 30 to 45 minutes plus questions.
- Who presents. One host and, if needed, one co-presenter. Agree who shares slides and who watches the chat for questions.
- Expected size. It decides which plan you need (see the limits below).
Step 2: Schedule the meeting and brand it
A webinar that looks like your event earns more sign-ups than a bare link.
In Daakiaa Meet, open Meet and press Schedule. Give the meeting a clear title, set the date, time and length, then make it look like yours:
- Add a banner. Upload your logo or the artwork for the event. It appears on the join page and in the invitation emails.
- Write the details. Use headings, lists and links for the agenda, the speakers, and anything people should prepare in advance.
Until the meeting starts, you can come back and change any of this: the title, the time, the length, the banner and the details. If you move the time, the people already invited get an update email automatically.
Step 3: Make it public and share the link
For an internal training or a client call, you invite people by email. For a webinar, you want anyone with the link to be able to sign up.
In Daakiaa Meet, a host can make a meeting public. Public meetings are a company-level choice, so your company admin first switches them on in the admin panel under Admin → Access → Meet. This keeps the decision about open events with the company, not with each person.
Once the meeting is public, share its link wherever your audience is: your website, a WhatsApp broadcast, LinkedIn, Instagram, a newsletter or a printed QR code. Meeting links are short and easy to read out, like meet.daakiaa.com/abc-defg-hij.
Tip: put the date, time and time zone (IST) right next to the link in every post. People decide in seconds whether they can make it.
Step 4: Let people register
When someone opens the link of a public meeting, they see the join page with your banner, the time and an “About this meeting” section. To register they:
- Enter their name, email address and mobile number.
- Confirm the email with a one-time code sent to that address.
- Join directly when the meeting is on.
Every registrant is added to the meeting’s guest list automatically, and they get a confirmation email. As the host you see each person’s name, email and phone number, so you know exactly who signed up.
Because registrants have already confirmed who they are, they go straight into the meeting instead of waiting for someone to let them in, which matters when dozens of people arrive in the same minute.
Step 5: Reminders that bring people back
The gap between “registered” and “attended” is where most webinars lose people. Daakiaa Meet sends the reminders for you:
- Invitation emails for people you invite directly, branded with your banner, readable on a phone, with the time, the details, a Join button and links to add the event to Google Calendar or Outlook.
- An update email if you change the time.
- A reminder a day before, for people who were invited earlier than that.
- A reminder about 15 minutes before, sent only to people who are not already in the meeting.
You don’t have to set anything up. If you want to add a personal touch, post a short reminder on the channel where you first shared the link, too.
Step 6: Run the session
A few habits make a public webinar feel professional:
- Join ten minutes early. Check your camera and microphone in the preview, open your slides, and close anything you would not want on screen.
- Share a window, not your whole screen. Sharing just your slides keeps notifications and other tabs private.
- Use chat for questions. Ask people to type questions in the chat, and have your co-presenter collect them for the end.
- Use raised hands and reactions to check the room without everyone unmuting.
- Write things down as you go. The Meeting Receipt panel in the call keeps notes, decisions and action items while you talk.
Step 7: Follow up the same day
The value of registration shows up after the webinar. With Daakiaa Meet:
- Attendance is tracked, so you can see who joined and for how long, and compare that with who registered.
- Action items become Tasks for the people they are given to, so promises made on the call (“we’ll send the slides”, “call me next week”) don’t get lost.
- A recap email goes out after the meeting with what was decided.
Then send your own follow-up: thank people for coming, share the slides or a link to the recording, and give one clear next step, such as booking a demo or signing up for the next session. Write separately to people who registered but did not attend; they were interested, they just could not make it.
Limits to plan around
Daakiaa Meet is included on every plan, including the Free plan:
- Free plan: meetings of up to 45 minutes with up to 10 people. Good for small workshops and trial runs.
- Paid plans: meetings of up to 24 hours with up to 100 people, which suits most small business webinars.
- Recording is available on paid plans; recordings are saved to the host’s Drive, and everyone in the meeting sees a Recording sign.
Public meetings with registration, branded invitations and reminders, and the Meeting Receipt are available on all plans. See the full comparison on the pricing page.
A quick checklist
- One-sentence promise, date, time (IST) and length decided
- Meeting scheduled with a banner and a clear agenda
- Public meetings allowed by your admin, meeting made public
- Link shared with the date and time next to it
- Slides ready, co-presenter watching the chat
- Notes and action items captured during the call
- Follow-up sent the same day, separately to no-shows
Get started
If your company already uses Daakiaa, open Meet from the apps menu and press Schedule. If you are new, create a free account with up to three mailboxes on your own domain, and try a small session first. For everything Meet can do, from waiting rooms to screen sharing, see Daakiaa video meetings.
Business email on your own domain, free
3 mailboxes free forever, with passkeys, spam protection and one-tap phone setup.
More from the blog
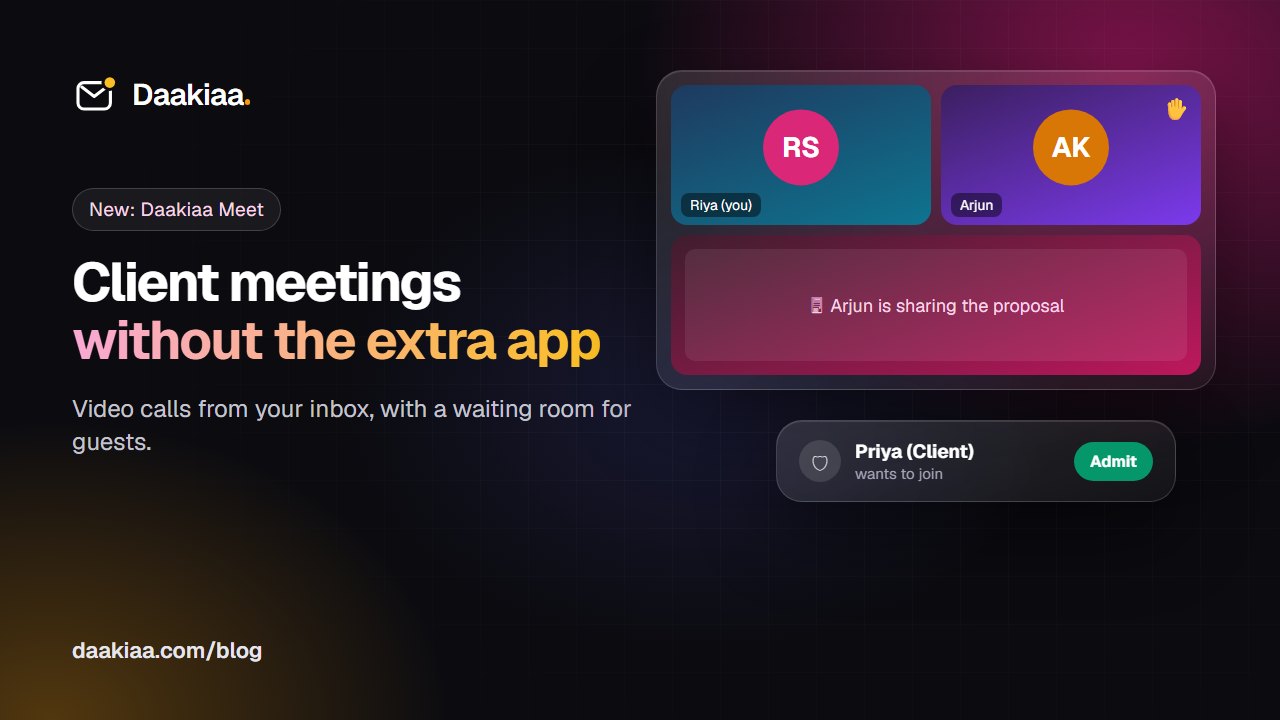
How to Run Professional Client Video Meetings Without Extra Apps
A simple checklist for professional client video meetings, and how Daakiaa Meet adds one-click calls, guest links and a waiting room to your business email.
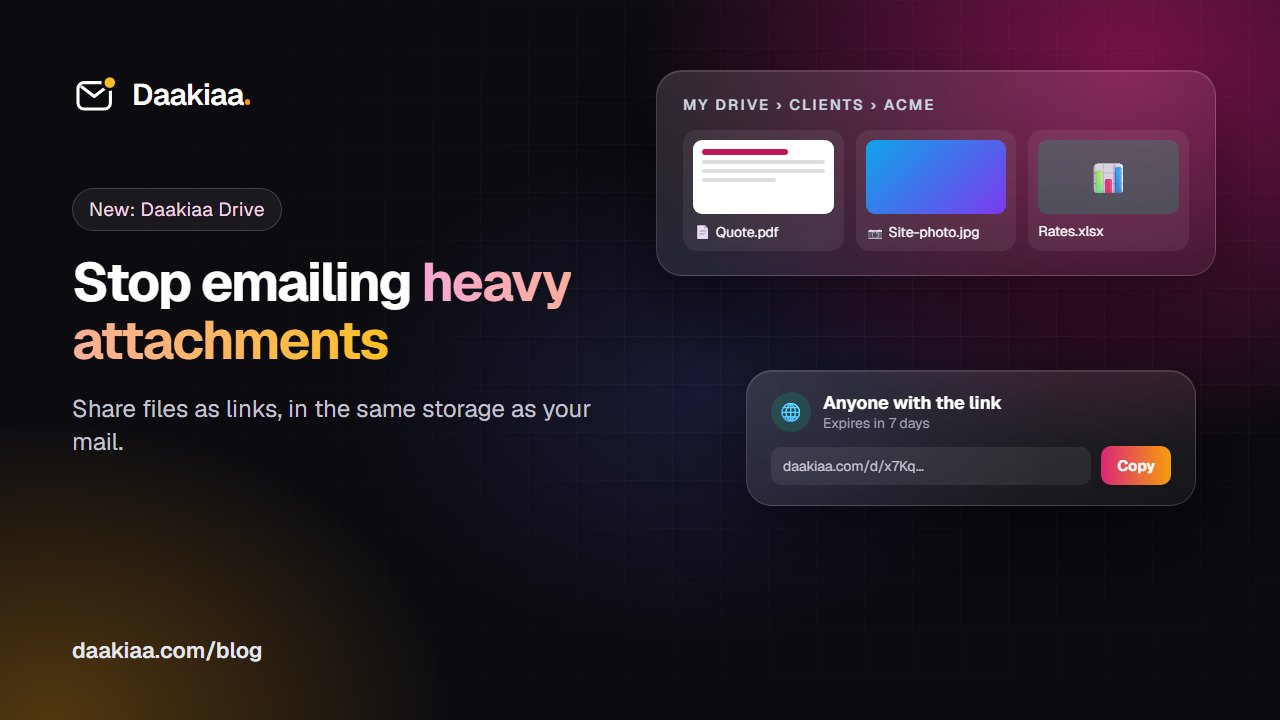
Share Large Files Without Attachments: A Simple System for Small Teams
Why attachments cause trouble, a simple folder system for small teams, and how Daakiaa Drive shares files as expiring links from your business email account.
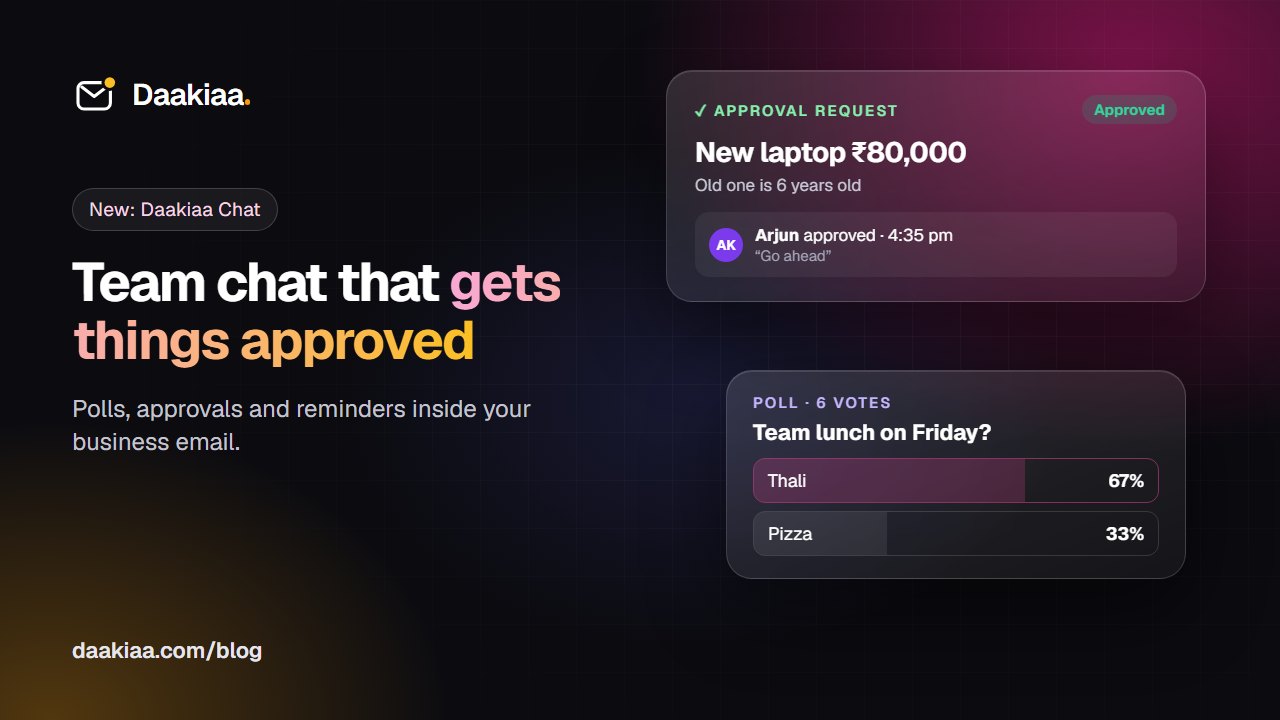
Faster Approvals in a Small Business, Without Endless Email Threads
Approvals stuck in email and WhatsApp? A simple five-step habit for faster decisions, and how team chat with one-tap approvals, polls and reminders helps.